I've been doing some summer traveling and camping, and it feels good to be back to my blog! I thought this was a project worth sharing, although I haven't quite mastered it myself.
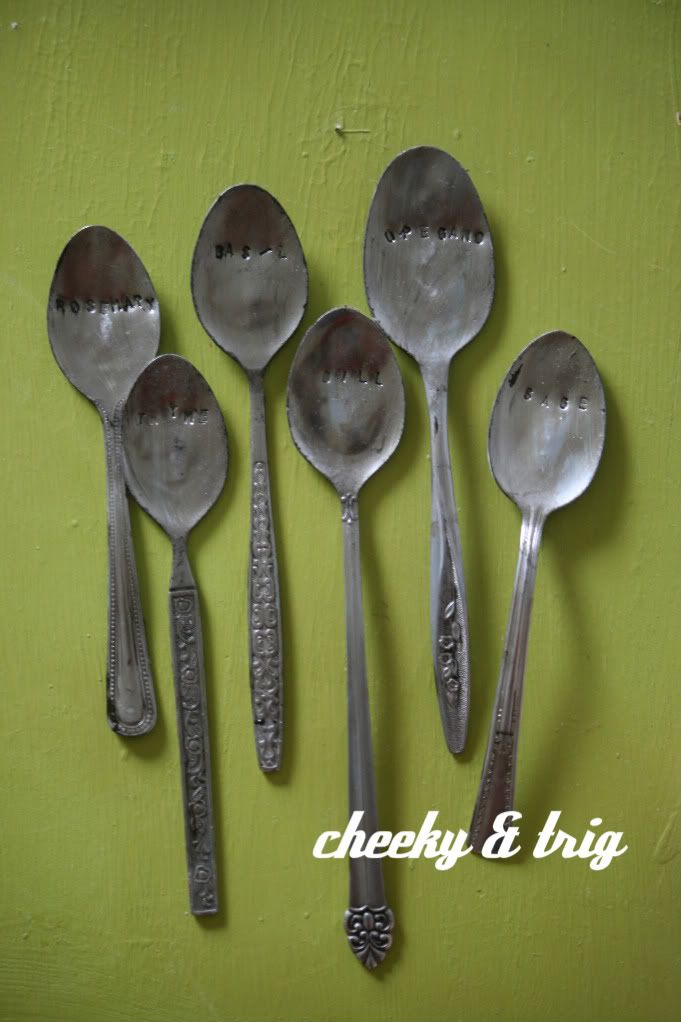
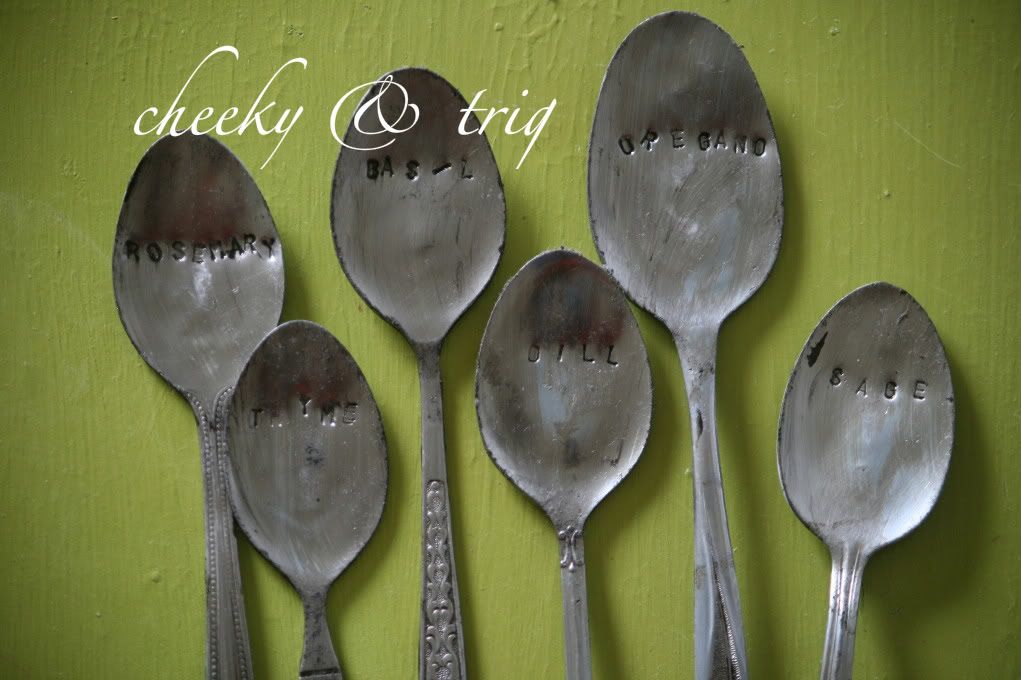
These are stamped, which is the part that can be tricky. But aren't they cute? I made them for my "secret sister" at camp. But I can't keep a secret, so she knew from day 1 I must be hers. I wanted something fun to give someone who gardens.. and this cute idea came up. First, I started by looking at the local thrift store for interesting spoons.
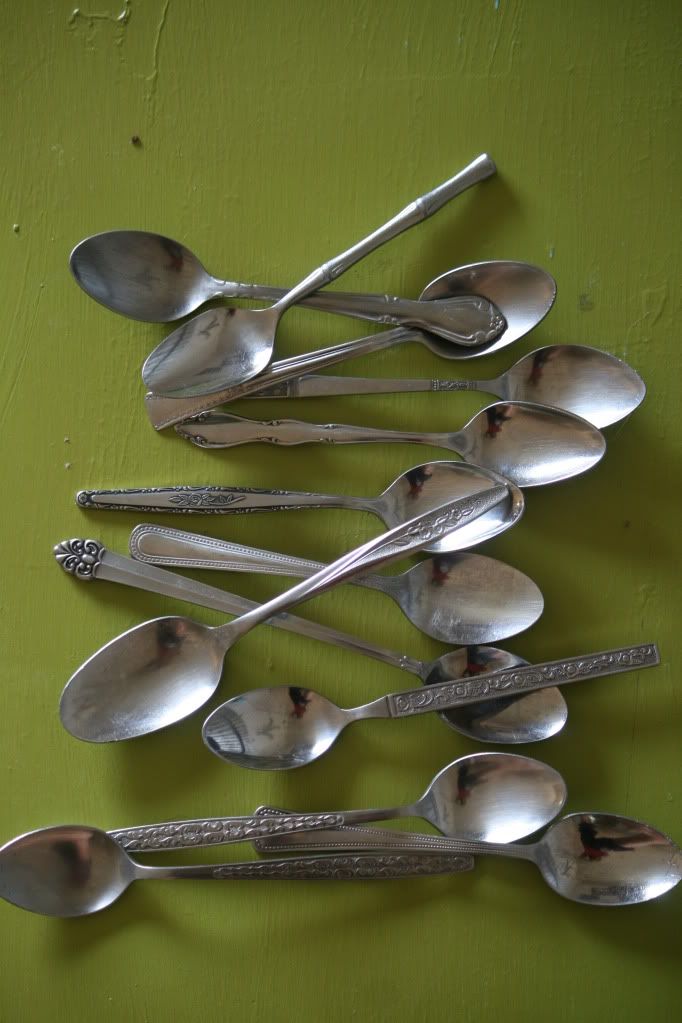
Notice how I started with twice as many? That's how many I messed up. Make sure to buy extra, and start with the spoons that are your least favorite.
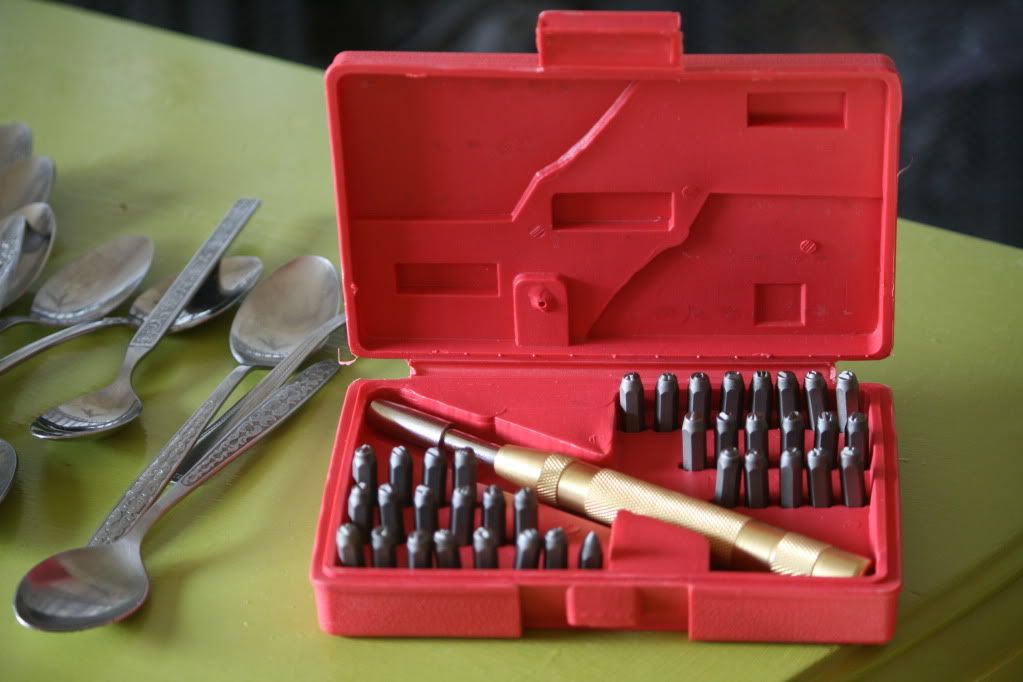
You're going to want a metal stamp kit. There are a few different options at Harbor Freight. Your first step is taking a sturdy hammer and flattening out the arch in the spoon. You really won't get the result you want unless you set it on concrete (if you're working on concrete you're worried about chipping, put it on top of wood or something else on top of the concrete). Anything that is not really hard underneath it will absorb your hit, when you really want the stamp to get as much of it as possible.
So once you've flattened out your spoon, it's time to stamp it. Now we all know I struggle with the details, and this will sound funny, but make sure your stamp is facing the right way before you pound. Try your hardest to give yourself enough room for all your letters. I like the look of the letters being a little crooked, so I don't worry too much about that. If you want them straight, I would bet sticking on some painters tape would help guide you. A mallet packs a lot of punch, which getting one good hit is the easiest way to achieve the best look. If you're punching an "L" and you feel like it's not a very deep engrave, it's hard to line that "L" exactly up again, but it can be done. You have to hit hard. That's why it's good to practice, you don't really realize how hard you have to hit. Some spoons are softer than others.
 The last step is to rub the spoons with antique glaze. I like the glaze I got from Lowe's.. you don't have to mix it with anything.
It's a really fun project.. not expensive, and once you learn to stamp, there's so much more you can do with them! I'd love to know if you're going to try it!