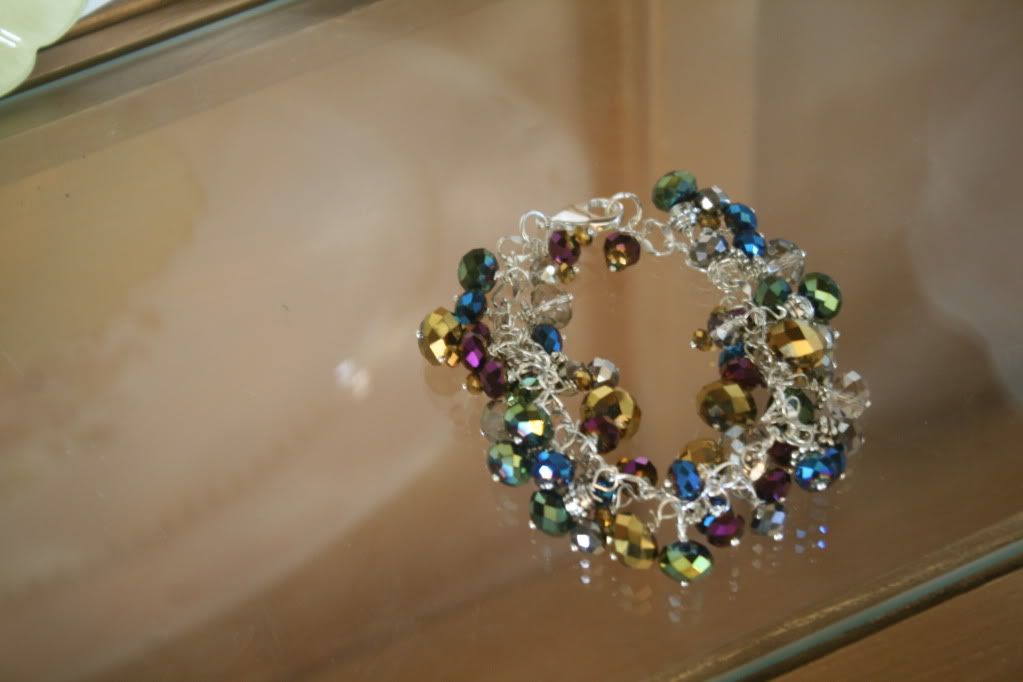
I've been making a lot of jewelry lately. I mean, a LOT. My mom is kind of demanding and orders me around like Cinderella to put together her own custom accessories. She's a bit of a diva. I'm hoping that maybe if I share how I make this dangle beaded bracelet she will read this tutorial and make one of her own. Who am I kidding.. But maybe this will be of interest to someone! If that's you, read on.

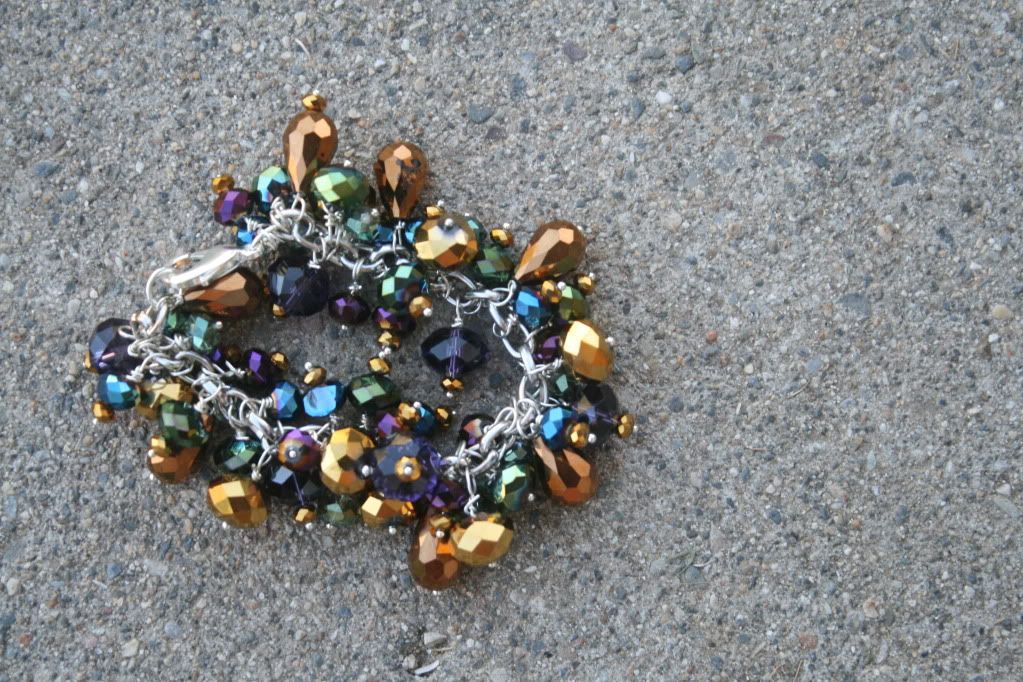
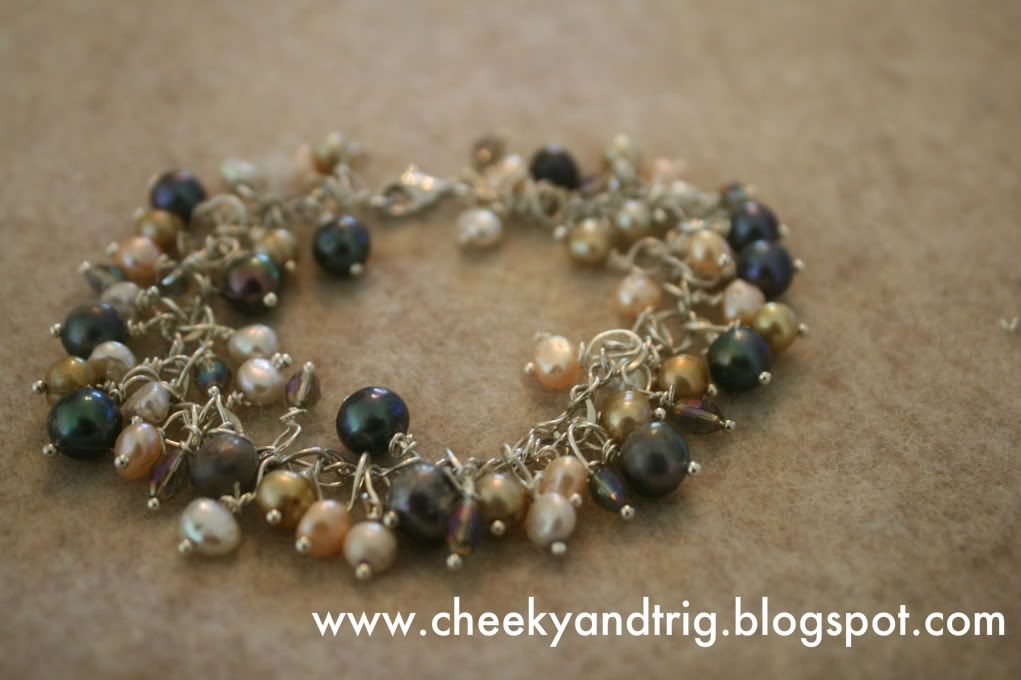
This particular bracelet is much more autumn looking than the pictures leave you to believe. It's got pretty golds and turquoises-not the mardi gras type feel you're seeing here. If you jump to the bottom of my post, you'll see the same style bracelet with different beads.
This is what you'll need:
Tools: Needle Nose Pliers
Pliers
Side Cutters
These are available at any craft store.
Supplies: You can find all of these at a craft store. I like Michael's the most for Beads.
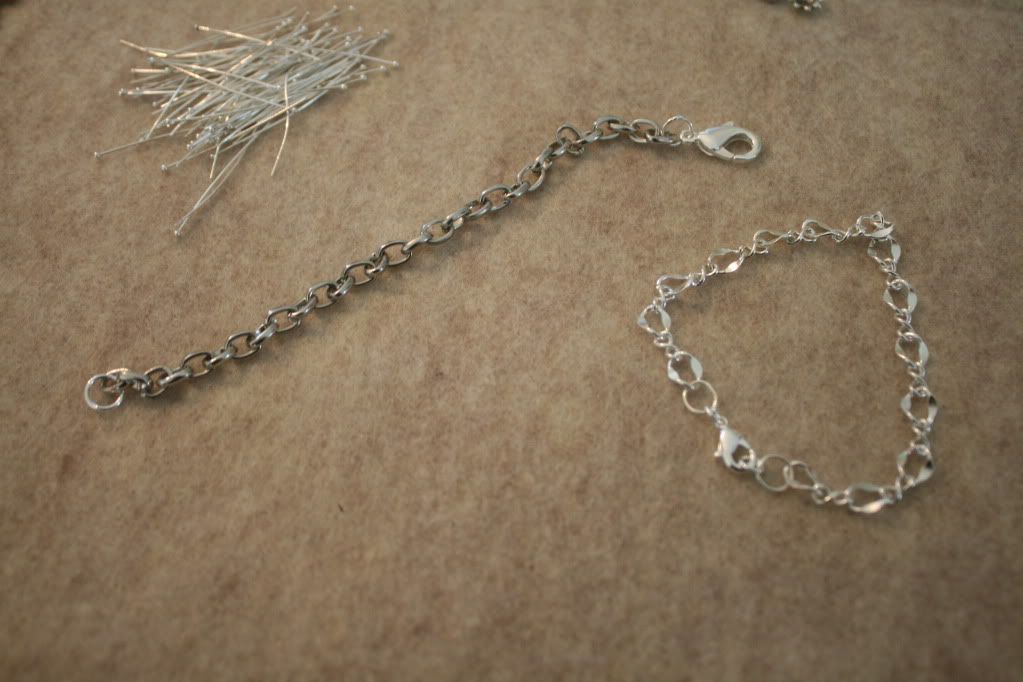
One Clasp- I prefer the lobster clasp shown because sometimes the cute toggles undo on your wrist.. you don't want all this hard work to just fall off!
Chain- Enough to fit your wrist. I show to different kinds in my pic.. you want a medium size..
Head pins with Ball Ends-You will need 50 of these (more if you want a chunkier bracelet than shown) You can use plain head pins also, but I like the ball because it does a good job of not letting most beads fall off, and it also is a prettier finished look.
Assorted Beads- 80ish. I like to do some pins with two beads, you can do more or less. What beads should you choose? I'll tell ya in a sec..
Silver spacers-Optional.. depending on the look you want. The silver spacers just add a little bit extra if you want a little more flash. You can also find the spacers, the pins, the chain and the clasp in gold if that's what you want.

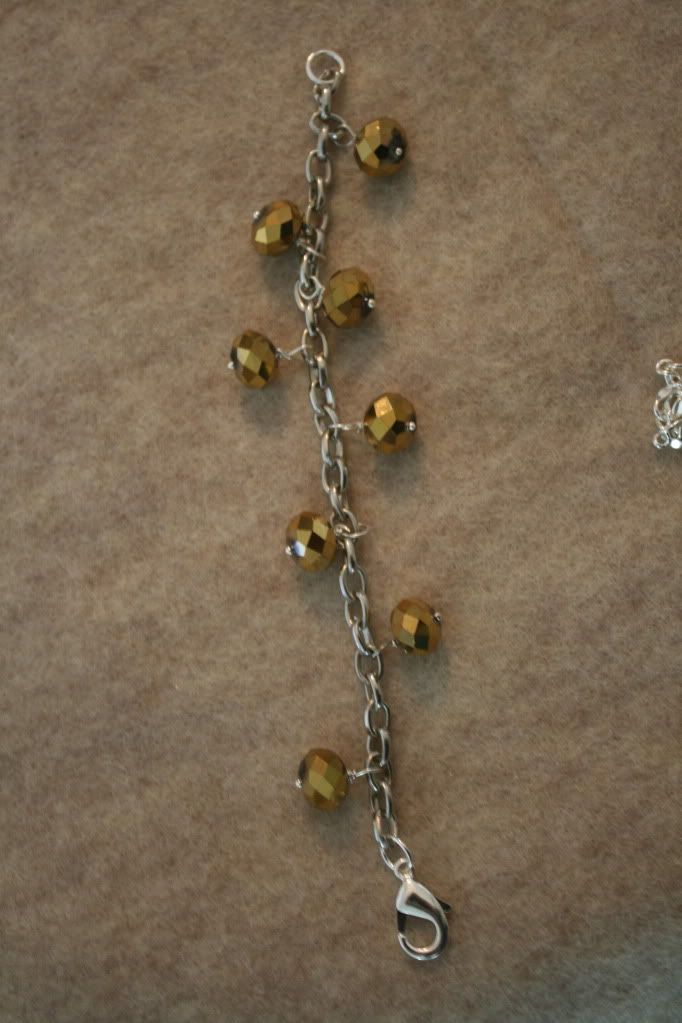
The first thing that I do is attach the clasp to the chain. Make sure to try it on before you start beading, the clasp can add a good amount of length, and you don't want the bracelet falling off your wrist, but you don't want it too tight. Here's two different examples of chain.. they would both work find for this bracelet.
When making this style bracelet, I like to put all my beads on the pins before I start attaching them to the chain.
When choosing your beads:
It's important to know what style of bracelet you want. If you want a more messy look like the one I'm demonstrating, find varying sizes and shapes. Also this style looks really good with varying finishes (shiny, matte, etc) I was going for a metallic look with this one, so I chose all glitzy.
If you want something a little more clean like the pearl bracelet at the bottom of the post, choose beads in uniform shape and similar size.
If you are feeling clueless on what colors to choose, take a piece of printed clothing that you love and draw from that.
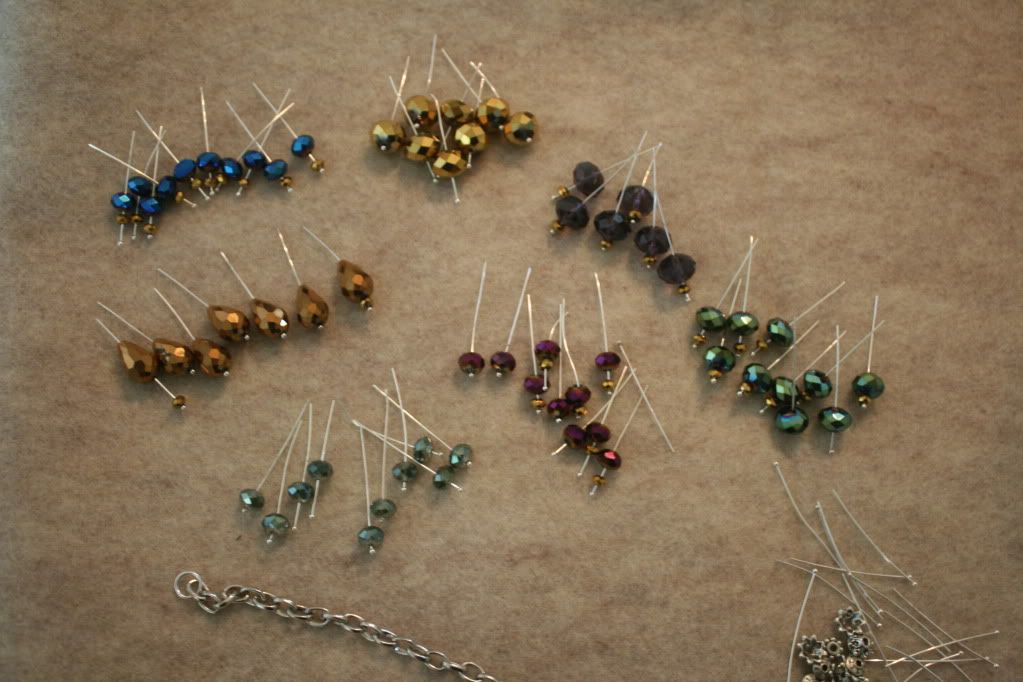
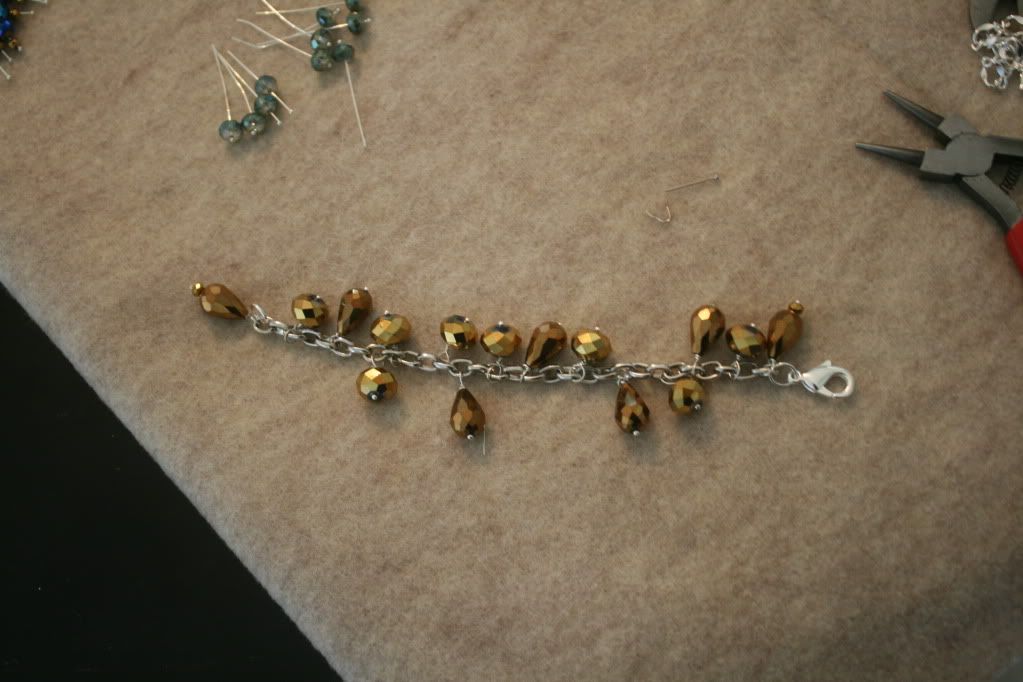
I start by putting the largest group evenly first. Don't get too worked up on spacing it exact. Just trust your eye, once more beads go on you won't be able to tell they're not perfect.. promise!
I chose this bead group next since it was so similar in color to the first group. And again, you just place and don't sweat it.
If you don't know how to attach a head pin, this link can help:
I chose this bead group next since it was so similar in color to the first group. And again, you just place and don't sweat it.
If you don't know how to attach a head pin, this link can help:
My advice is to always twist the pin. Some like to clip it and just bend a small part over, but when you twist it, your bead is not going to ever fall off unless it breaks. If you've never done this before, you will pick it up after a few tries.
Starting to get a little more full. Maybe you really like the look how it is now.. this bracelet has roughly 22 pins in it.
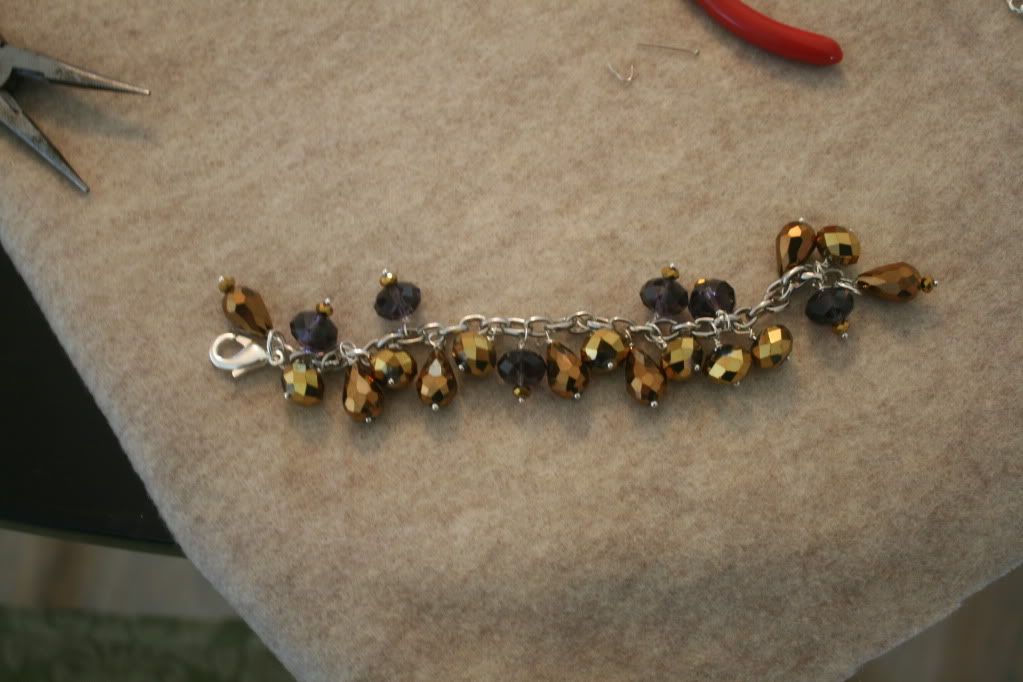
Adding another group..
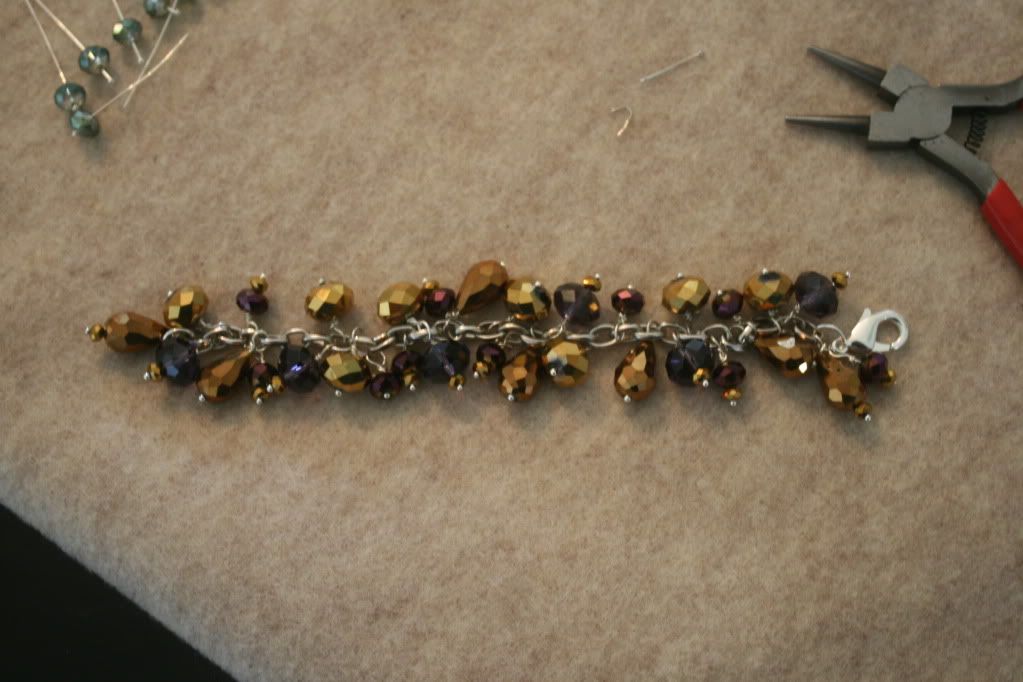
Suddenly getting chunkier..

and boo yah..
and boo yah..
you're ready to be the belle of the ball.
Another example of the same bracelet, different beads:
The pearls in this make it a little more dainty and clean.
Thanks for visiting! Let me know if you have any questions!